The content moderation module in Drupal core is a powerful way of allowing content to pass through a moderation workflow. This allows you to create workflows that take content from draft modes into a published state and back again.
Each content moderation state can have a "published" setting that tells Drupal if an item of content in this state should be considered as published. This means that if a page of content is put into a published state then users with the "view published content" permissions can view it.
Users would need the opposite permission "view any unpublished content" to be able to see a content in a state without this flag set.
It is possible to create multiple content moderation states with the "published" setting enabled. For example, you might have a workflow where users can set items of content into a "review" workflow in order to schedule it being updated but still have the content available. The content can then be moved into an unpublished state or updated and put back into a default published state.
The fact that this is possible got me thinking about how this system could be used to provide additional features on a site. It turns out that it is possible to create a workflow moderation state that is used as a way of promoting content. This would be used in the same way as the 'sticky' or 'front page' fields that come with Drupal.
In this article I will go through how to setup an additional published workflow state that can be used as a flag like this. I'll then go on to show how this can be extracted as information in the node templates.
Setting Up An Additional Published State
When you first install content workflow module you will get the Draft and Published states created for you. You just need to set up an additional state that you will use as a flag. For example, this could be "Promoted" but what you use depends on what you want to use it for.
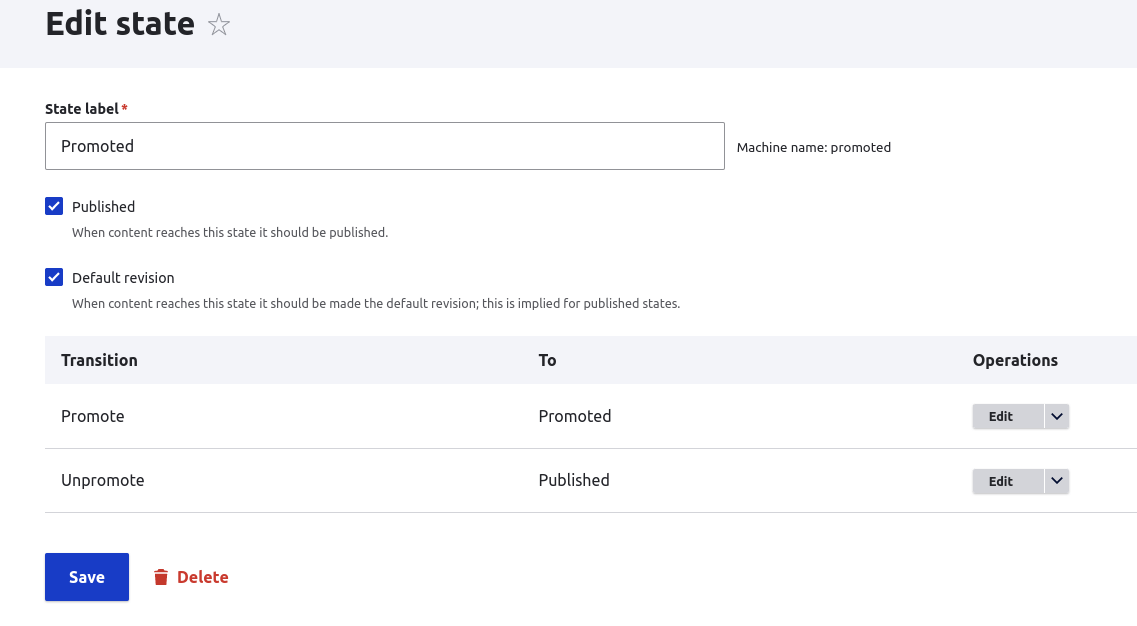
To set up an additional published state to work as a flag you need to click both of the "Published" and "Default revision" checkboxes when setting up the state. If you don't do this then the revision state won't be surfaced when using Views and templates, which means that we dont get the correct effect.
When you have the state in place you then need to ensure that your content workflows can reach that state. To this end you need to create a transition that will allow you to move content into that state.
Note that as well as a transition to Promoted we must also have a transition away from Promoted. Having dead ends in your content moderation workflows can cause real problems for your users as pages get stuck with no way of getting them back out.
Once you have everything setup you should see something like this. This shows the "Promoted" state that can be transitioned to from "Published" and also has a transition to move it back to "Published".
With that in place we can start moving pages of content into that workflow state. Doing so won't have any effect until we add some information to the site.
Creating A View
The first thing that comes to mind here is using the workflow state in a View. This allows promoted items to appear at the top of the list.
For my purposes I needed to generate a View that would order the pages by the workflow moderation state. This orders the workflow states in alphabetical order, which essentially puts "Promoted" first, followed by "Published".
The following shows the View with the moderation state in the sort criteria. The authored date is also used to allow normal ordering after the promoted state.
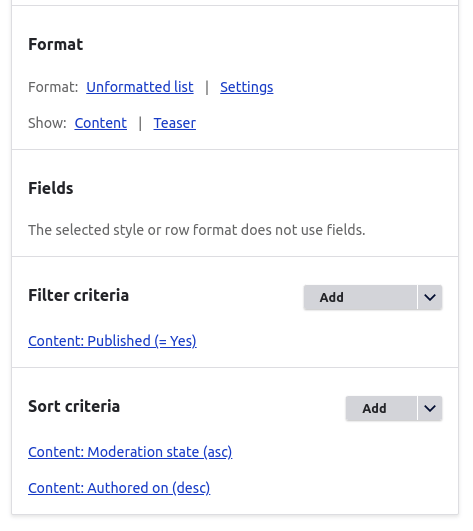
This View is quite simple. It doesn't require any other relationships or contextual filters to get this working.
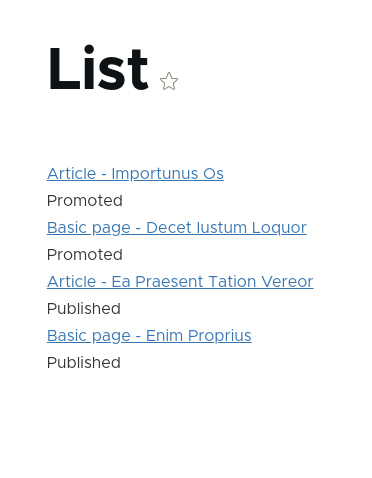
The created View will look something like the following on a site populated with test content.
Showing The State To Users
If we wanted to print out the moderation state as text or provide some information then we can easily create a render array to render this into the theme.
The following code checks to see if a loaded node has a moderation_state field, and if so gets the value of the field and adds it to a render array.
if ($node->hasField('moderation_state')) {
  $moderationState = $node->get('moderation_state')->getValue()[0]['value'];
  if ($moderationState === 'promoted') {
    $build['promoted'] = [
      '#markup' => '<p><strong>' . $this->t('PROMOTED') . '</strong></p>',
    ];
  }
}
If we place this code into a block and place that block onto a page that is in the moderation state we want then the word "PROMOTED" will be printed.
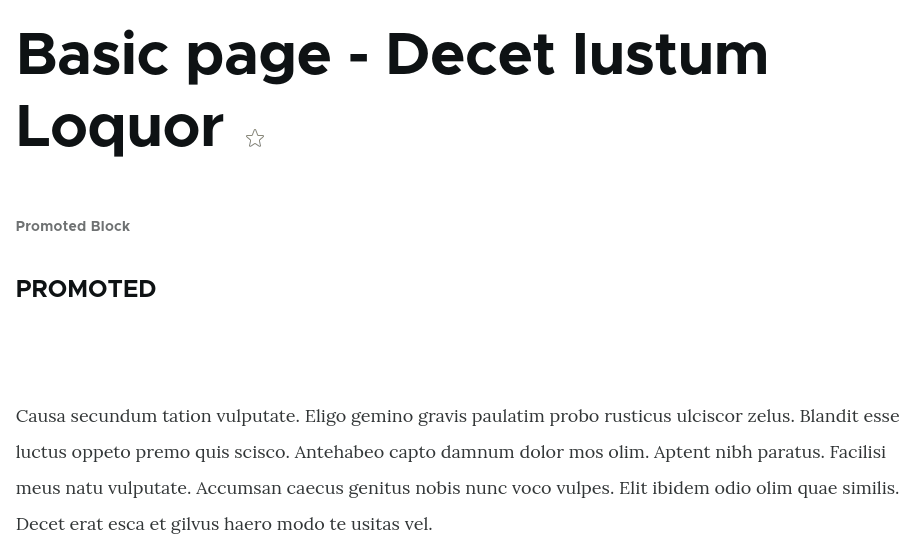
This code can be injected into the template in a number of different ways to allow the fact that this post is promoted to be built into the theme. You can even create preprocess hooks to inject classes into your templates.
Pros And Cons
Whilst this technique is certainly possible, there are one or two pros and cons with this approach. Let's go through them here.
Pros
- This is quite easy to set up and only needs workflows and views to be created to get working.
- As this plugs into the workflow system there isn't any extra training to introduce users to the concept. If they are used to pushing content through a workflow then this will fit into that system easily.
- Permissions for content moderation are baked in and so you can lock the promotion workflow away from certain roles. This is in contrast to the promoted and sticky flags that do not have permissions tied to them. You can even use permission states where users can ask for items to be promoted.
- It is possible (although tricky) to set up multiple workflow states as "promoted" items. You just need to be careful with the ordering of elements as they will be done alphabetically.
- There is no need to create fields or other data items; everything works through default fields and data.
Cons
- If you don't click the default revision checkbox when setting things up then this won't work in the intended way, which can make setup frustrating if you miss that box.
- As there is no field that means there is no field output so you need to build the rendering of the moderation state into the theme. This can be done easily using preprocess steps or blocks, but that's extra work.
- The ordering of items is based on the alphabetical state of machine name of the workflow state and so having more than one state can cause difficulties in ordering.
- This does overcomplicated things a little bit. Users tend to understand a single checkbox and what it does.

Add new comment