The Canvas element that comes with Tkinter is quite versatile. Out of the box you can draw simple basic shapes like squares and circles, but also lines and more complex shapes made up of points. You can even add text and images to the canvas.
This article will go through all of the different types of items you can draw using the Tkinter Canvas object.
Before getting into that, it's important to understand how coordinates are used on a canvas object. Drawing items on a canvas requires the use of an x and y coordinate to pinpoint where the item is to be drawn. All points are relative to the top left hand corner, so a coordinate of 0,0 would be right in the top left corner.
Because it is possible to create a canvas within a scrollable area, the canvas might be offset from the current window view. In this case the coordinates are still measured from the top left hand corner of where the canvas is visible in the current window. In this case a coordinate of 0,0 would be in the top left hand corner of the application window.
This article will cover the following types of canvas element:
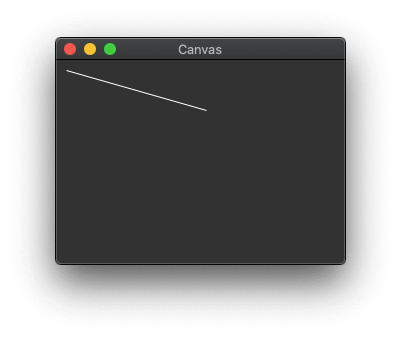
To draw a line we use the create_line() method. This takes a series of x and y coordinates to draw the line. As a minimum you need to supply 2 coordinates for the start and end of the line.
In the example below the line is drawn from the coordinates 10,10 to 150,50 on the canvas.
import tkinter as tk
from tkinter import Canvas

app = tk.Tk()
app.title("Canvas")

canvas = Canvas(app)
canvas.pack()

canvas.create_line(10, 10, 150, 50)

app.mainloop()
This creates the following application.
The points sent to the create_line() method can be passed as an array of points. The following will produce exactly the same line as above.
points = [
    10, 10,
    150, 50
]
canvas.create_line(points)
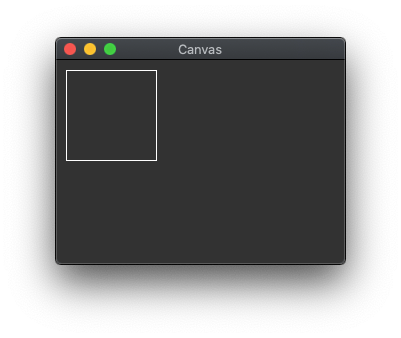
You can keep adding points to the line method to create more parts of the line. Adding a 3rd point will create a line with two parts, adding a 4th point will create a line with three parts. For example, the following will draw a box in the upper left hand side of the canvas element.
canvas.create_line(10, 10, 10, 100, 100, 100, 100, 10, 10, 10)
Running this set of coordinates produces a canvas that looks like this.
An alternative way of writing this code is to pass the points to the create_line() method as a single variable. This will produce the same shape as the above application.
points = [
    10, 10, 10, 100, 100, 100, 100, 10, 10, 10
]
canvas.create_line(points)
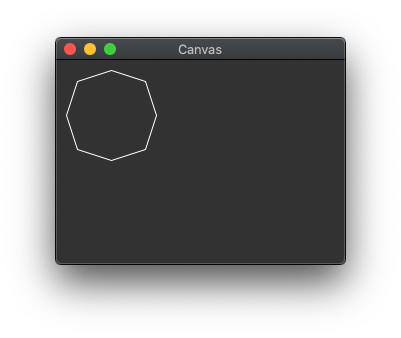
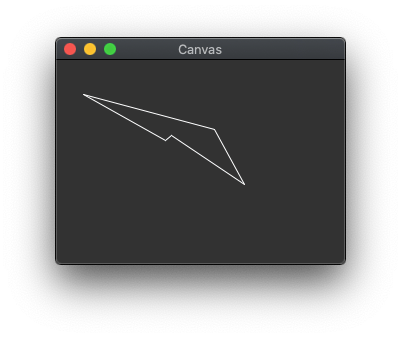
Instead of a straight line you can supply the smooth configuration option, which will draw the line as a series of parabolic lines rendered in straight line segments. The splinesteps option controls how many segments each of the lines with have. In the example below the splinesteps is set to 2, which means that each line is smoothed with 2 lines.
points = [
   10, 10, 10, 100, 100, 100, 100, 10, 10, 10
]
canvas.create_line(points, smooth='true', splinesteps=2)
This produces the following application. The 8 sided shape is really the 4 lines drawn in the previous application but with a smooth operation added to the lines.
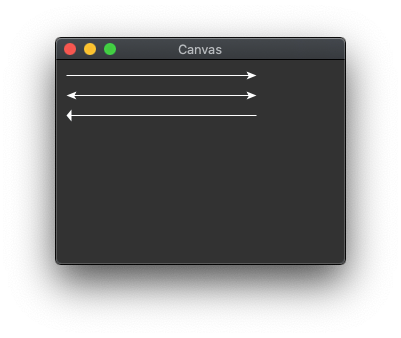
It is also possible to add arrows to lines using the arrow configuration option. Using tk.LAST adds the arrow to the last point drawn, tk.FIRST to the first point drawn, and tk.BOTH to add the arrow to both ends. You can also use the arrowshape config option set an arrow shape using an array of three items that describe the shape of the arrow head.
canvas.create_line(10, 15, 200, 15, arrow=tk.LAST)
canvas.create_line(10, 35, 200, 35, arrow=tk.BOTH)
canvas.create_line(10, 55, 200, 55, arrow=tk.FIRST, arrowshape=[5,5,5])
These three lines will produce the following application.
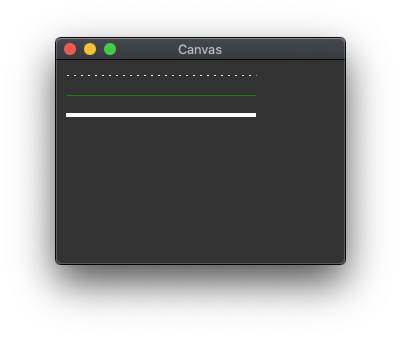
The canvas line is actually quite a good starting point to drawing on a Canvas as there are quite a lot of options available to it and some of these options are available to other objects. For example, we could create a dashed line, a different coloured line, or even a thick line by setting different configuration options.
canvas.create_line(10, 15, 200, 15, dash=[2,5])
canvas.create_line(10, 35, 200, 35, fill='green')
canvas.create_line(10, 55, 200, 55, width=4)
These options will produce the following application.
To draw a singe pixel, which is sometimes needed, you can use the create_line method to draw a point at a single location with a length of 1 pixel.
x = 10
y = 10
canvas.create_line(x, y, x + 1, y)
Whilst the arrow remains a part of the canvas line, the dash, fill and width of the line can be controlled across most of the different line canvas elements.
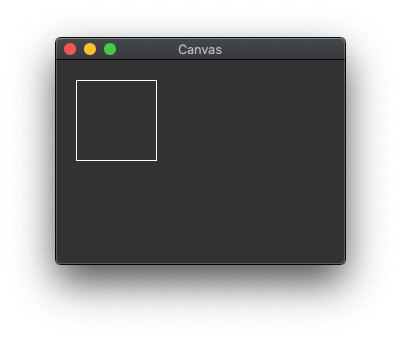
The create_rectangle() method creates a rectangle shape, essentially creating any four sided regular shape. By default, the two coordinates given are the top left and bottom right of the rectangle produced.
import tkinter as tk
from tkinter import Canvas

app = tk.Tk()
app.title("Canvas")

canvas = Canvas(app)
canvas.pack()

canvas.create_rectangle(20, 20, 100, 100)

app.mainloop()
This creates the following application.
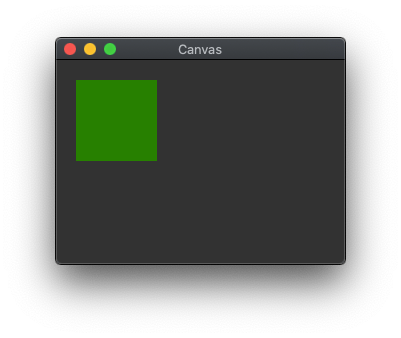
The main difference between the line and the rectangle is that the fill configuration item will fill in the inner portion of the shape, instead of colouring the line. The line can be coloured using the outline configuration option. In order to fully colour the rectangle you can use the following code. You can also set the outline to be an empty string to set it to be invisible.
canvas.create_rectangle(20, 20, 100, 100, fill='green', outline='green')
This will produce the following application.
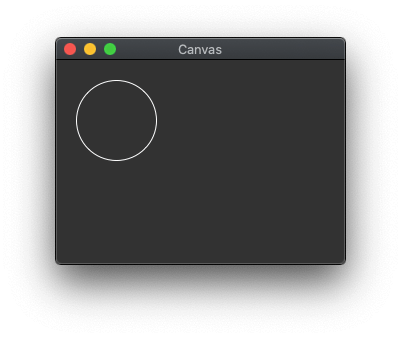
The create_oval() method will create an oval, but will create a circle if given equal coordinates. The oval will be drawn between the top left and bottom right coordinates. If the difference between the top to bottom and left to right is the same then a circle will be drawn.
For example, if the used the same dimensions to draw a square, but instead use the create_oval() method then a circle will be drawn.
import tkinter as tk
from tkinter import Canvas

app = tk.Tk()
app.title("Canvas")

canvas = Canvas(app)
canvas.pack()

canvas.create_oval(20, 20, 100, 100)

app.mainloop()
This creates the following application.
The create_arc() method will create a segment of a circle. This follows the same rules as the create_oval() method, but in this case the coordinates will only draw a part of the oval of the same dimensions.
import tkinter as tk
from tkinter import Canvas

app = tk.Tk()
app.title("Canvas")

canvas = Canvas(app)
canvas.pack()

canvas.create_arc(20, 20, 100, 100)

app.mainloop()
This creates the following application.
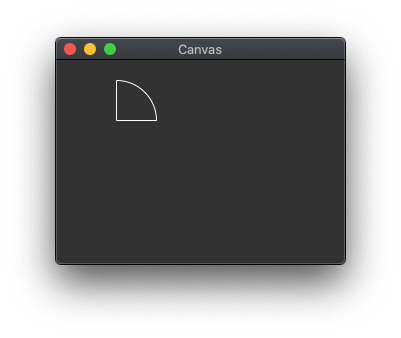
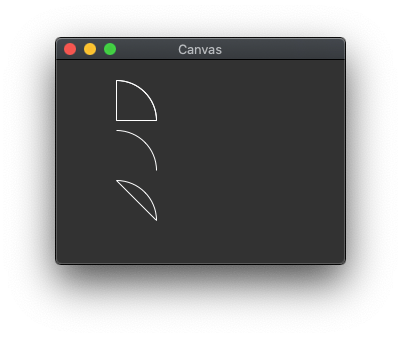
By default, this creates an arc that looks like a slice of pie, this can be controlled through the style configuration option, the default being the tk.PIESLICE option. Other options available are tk.ARC and tk.CHORD. These lines show three different arcs being created using the different styles available.
canvas.create_arc(20, 20, 100, 100, style=tk.PIESLICE)
canvas.create_arc(20, 70, 100, 150, style=tk.ARC)
canvas.create_arc(20, 120, 100, 200, style=tk.CHORD)
This creates the following application.
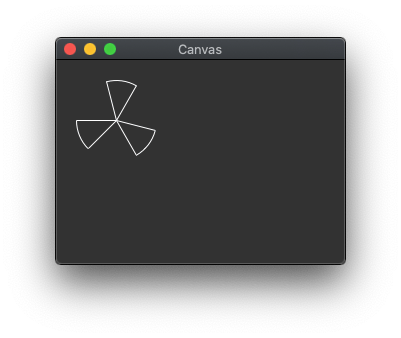
By default, an arc of 90 degrees is drawn from the top of the circle (or 0 degrees). This can be changed using the start and extent configuration options for the create_arc() method.
As an example, we can draw three parts of the same circle using the create_acr() method but offset them from each other by 120 degrees.
canvas.create_arc(20, 20, 100, 100, extent=45, start=60)
canvas.create_arc(20, 20, 100, 100, extent=45, start=180)
canvas.create_arc(20, 20, 100, 100, extent=45, start=300)
This draws the following.
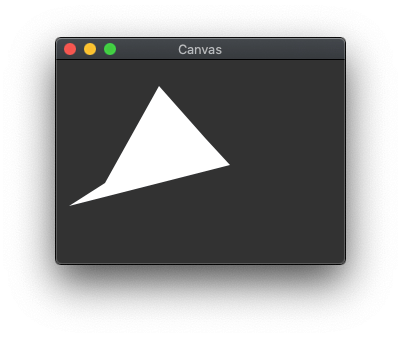
The create_polygon() method allows you to create any shape and will fill in the middle part of the polygon. Like the create_line() method, this will accept any number of points that will form the shape.
The following application will create a polygon with 10 random points, which will create shapes of all sorts of size.
import tkinter as tk
from tkinter import Canvas
import random

app = tk.Tk()
app.title("Canvas")

canvas = Canvas(app)
canvas.pack()

points = [
    random.randrange(0, 200),
    random.randrange(0, 200),
    random.randrange(0, 200),
    random.randrange(0, 200),
    random.randrange(0, 200),
    random.randrange(0, 200),
    random.randrange(0, 200),
    random.randrange(0, 200),
    random.randrange(0, 200),
    random.randrange(0, 200)
]
canvas.create_polygon(points)

app.mainloop()
This creates the following application.
The polygon shape can be shown as an outline by setting fill to a blank string and setting the outline to a colour.
canvas.create_polygon(points, fill='', outline='white')
Using the same random points as above this generates the following application.
The create_bitmap() method will print out a little icon image. There are 10 different built in bitmaps to pick from, but you can also load in your own xbm files to the function.
The following code creates a canvas object that contains all 10 of the built in bitmap images, but also adds in a custom bitmap called circles.xbm. The custom file is loaded in using a @ symbol in front of the filename. The file referenced here is in the same directory as the script.
import tkinter as tk
from tkinter import Canvas

app = tk.Tk()
app.title("Canvas")

bitmaps = [
    "error",
    "gray75",
    "gray50",
    "gray25",
    "gray12",
    "hourglass",
    "info",
    "questhead",
    "question",
    "warning",
    "@circles.xbm"
]

canvas = Canvas(app, width=200, height=len(bitmaps) * 32 + 32)
canvas.pack()

for i in range(0, len(bitmaps)):
    canvas.create_bitmap(100, ((i+1) * 32), bitmap=bitmaps[i], anchor=tk.CENTER)

app.mainloop()
This creates the following application.
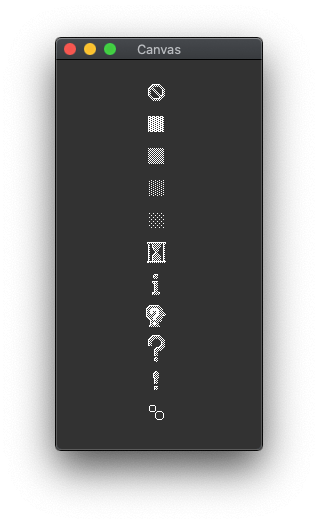
The final image (with the two circles) is the custom circles.xbm file.
Often useful in Canvas elements is the inclusion of images. This is made available using the create_image() method.
The method takes the coordinates of the image and a reference to the image object. The image object must be created by passing the file into a PhotoImage() class.
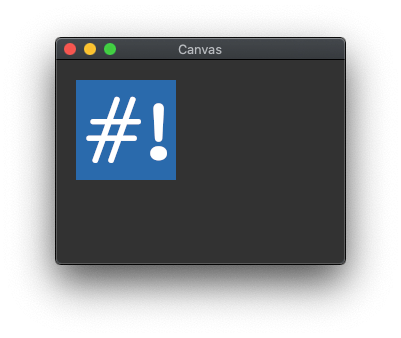
An important consideration of images is where the anchor lies. By default, images are anchored to the middle of the image. This means that the coordinates you enter need to be offset by the height and width of the image. Using the anchor configuration setting we can set this to one of the corners of the image.
In the example below we create logo as a PhotoImage object, which we then place at the coordinates 20,20 and use the anchor configuration to set the anchor to the top left hand side. As this is the same position that we are trying to place the image it is pinned to the coordinates 20,20 in the top left hand side.
import tkinter as tk
from tkinter import Canvas, PhotoImage

app = tk.Tk()
app.title("Canvas")

canvas = Canvas(app)
canvas.pack()

logo = PhotoImage(file='hashbangcode_logo.png')
canvas.create_image(20, 20, image=logo, anchor=tk.NW)

app.mainloop()
This creates the following application.
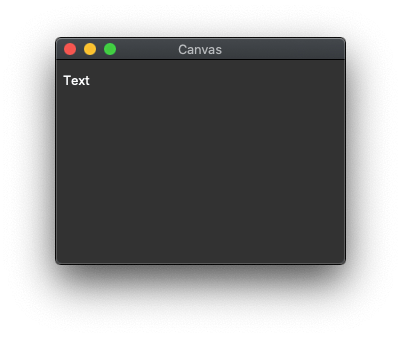
It is also possible to add text to your canvas using the create_text() method. This takes the coordinates that the text must be placed at, and the text itself in the form of a configuration value.
import tkinter as tk
from tkinter import Canvas

app = tk.Tk()
app.title("Canvas")

canvas = Canvas(app)
canvas.pack()

canvas.create_text(20, 20, text='Text')

app.mainloop()
This creates the following application.
Finally, it is possible to add other Tkinter interface elements to a canvas using the create_window() method. This method accepts a position and a Tkinter element and will render that element into the Canvas area. The rendered element will always be on top of any canvas operations you perform.
The following code will create a Tkinter canvas element that contains a button. Clicking the button will run the draw_line function that will then draw a random line on the canvas.
import tkinter as tk
from tkinter import Canvas
import random

app = tk.Tk()
app.title("Canvas")
app.geometry("200x200")

def draw_line():
    points = [
        random.randrange(-10, 200),
        random.randrange(-10, 200),
        random.randrange(-10, 200),
        random.randrange(-10, 200)
    ]
    canvas.create_line(points)

canvas = Canvas(app, width=200, height=200)
canvas.pack()

widget = tk.Button(canvas, text='Draw Line', command=draw_line)
widget.pack()

canvas.create_window(100, 190, window=widget)

app.mainloop()
After running this application, and clicking the "Draw Line" button a few times we see this.
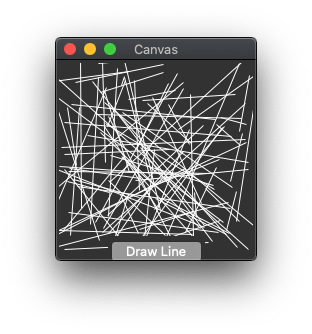
The create_window() method is useful for drawing user interface elements on a Canvas and because you can't drawn on top of the window element you can build interfaces on top of your Canvas without them being drawn over.
Conclusion
The Canvas element in Tkinter is quite a versatile platform for drawing all kinds of shapes and graphics. There are lots of options to chose from in the elements available that allow them to be created in any way that is required. You can also inject sub forms into the canvas through the use of the create_window() method that allows you to create fully featured interfaces.
In addition all of the elements created by Canvas are part of Tkinter they can have events attached to them, which makes them fully interactable.

Add new comment