When starting out learning Python you will probably start by looking at the command line a lot. This is understandable as it's important to learn about variables, conditionals and loops and the command line is the best way to start out with the language.
I have always found it useful to quickly introduce graphical user interfaces when learning programming as it allows people learning programming to have something they can engage with. Being able to see the output of their program in real, tangible things that they can interact with.
There are a couple of different libraries in Python that can be used to create user interfaces, and perhaps the first one Python developers tend to learn is Tkinter or the "Tk interface" module. This is a Python binding to the Tcl/Tk toolkit to create graphical user interface.
Using the Tkinter module does mean some understanding of Python and object oriented programming to get up and running. Thankfully, much of the complexity is abstracted away as most methods can be called without passing in parameters. You can, if you want, dig into that complexity and start altering Tkinter in different ways, but for a beginner you don't need to do that.
Installing Tkinter
Some resources will state that Tkinter is built into Python, but this isn't always the case. To install Tkinter you can use the pip package manager.
$ pip install tk
If you are using Ubuntu then
sudo apt-get install python3-tk
If you are on a mac you can use brew to install it.
brew install python-tk
With that done you should have everything you need to get started.
Importing Tkinter
In order to use Tkinter in a Python script we first need to import it at the top of the file.
import tkinter
Note that in Python 2 this is Tinker, with a capital "T".
You can also use the "as" keyword to rename the module inside your script.
import tkinter as tk
This means we can reference the Tkinter library as 'tk'. The module comes with a bunch of objects that we can use to create applications.
Using Tkinter
To use the Tkinter module we first need to create a window for the application to run in. The following code will create a new application window that is 300 pixels square and give it a title of "My App". We do this by creating a new Tkinter object called app, and then setting some parameters of that object.
app = tk.Tk()
app.title("My App")
app.geometry("300x300")

app.mainloop()
The line line here is a call to the mainloop() method of the app object, which is the most important line in this script. Calling this method at the bottom of your script will kick off an event loop that will listen to things you do with your application. The event loop is an infinite loop that will intercept and process actions performed within your application. Everything from moving your mouse to button clicks are registered through this loop and are processed by any events you register with the application.
Running this will produce something like the following.
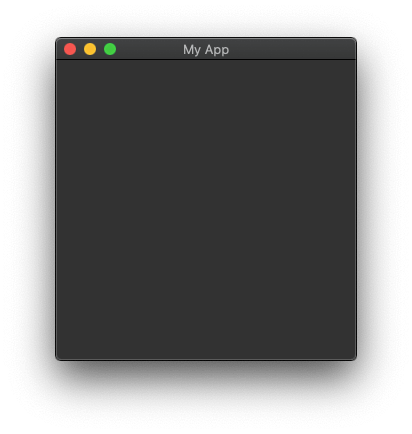
I'm using a dark theme on a Mac and so the application is inheriting that theme. Running the same thing on a Linux machine running Gnome makes the app look a little different.
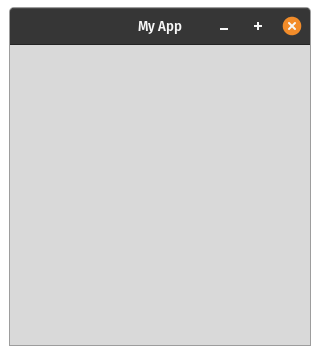
Either way, this doesn't look like much, so let's add something for the user to interact with.
Adding Widgets To Your Application
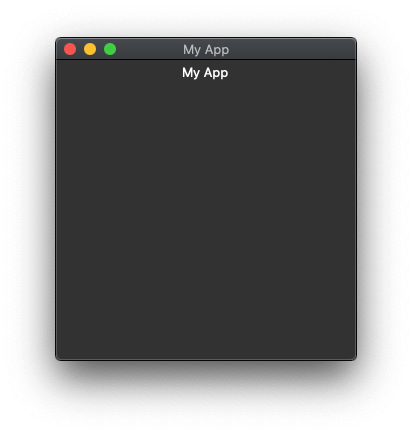
The Tkinter module uses what are known as widgets to build up the graphical user interface. The simplest thing we can add is a Label widget, which is used to label things in your application. All we need to do is use the Tkinter module to create a new Label object. We can pass in a number of different arguments to the new label, but in the code below we are setting the text of the label to "My App". The next line, the call to the pack() method is used to add the label to the application window. There are actually a couple of different ways to add widget to the application window, and pack is one of the simplest. We can optionally pass arguments about alignment to the pack() method, but it will still work just as well if we just call it without arguments.
label = tk.Label(text="My App")
label.pack()
Running the application now will create the same window as before, but we how have a new label.
The pack() method is actually one of a set of layout managers that come with Tkinter, the others being place() and grid(). The grid() method works using a mechanism not unlike the CSS grid setup and so might be a good choice for web developers moving into Python and Tkinter. The place() method is used to place widgets at a precise location in the application window.
An application without interactivity is a little dull, so let's add a button for the user to interact with. This uses the Button widget, which takes a command parameter that is the callback to the action of the clicking the button. All you need to do is define a function and pass this function to the Button widget when you create it.
The simplest Button we can make is one that quits the application. To do this we define a function called quitCallback that calls the Python quit() function (which ends the program) and then pass this to the Button widget using the command parameter. We then call pack() again in order to add the button to the application window.
def quit_callback():
    quit()

quit_button = tk.Button(text="Quit", command=quit_callback)
quit_button.pack()
Note that the order of the calls to pack() without passing any parameters will dictate the order of the elements on screen and so the button will appear below the label.
With the addition of the button our application now looks like this.
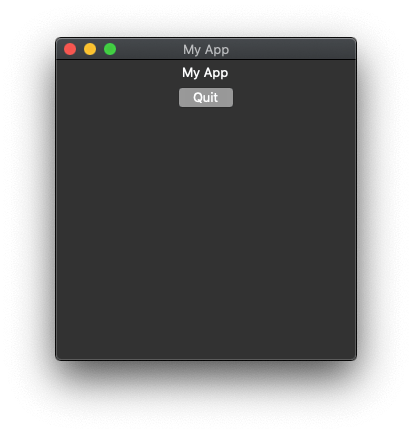
Clicking on the "Quit" button quits the application.
Doing Something Useful
Whilst these examples are interesting, I thought it would be useful if I showed a (very) simple application that did something useful. What I will do is create an application where the user can input a number and double it. First, let's create a label and a text field that the user can add the value into. This uses a Label widget and an Entry widget, which is what will accept the number.
label = tk.Label(text="Value")
label.pack()

entry = tk.Entry()
entry.pack()
Next, we need another Label and Entry widget pair that will store the result of the calculation.
result_label = tk.Label(text="Result")
result_label.pack()

result = tk.Entry()
result.pack()
Finally, we need a button to perform the calculation. Again, we use the Button widget but this time the function we pass in does a little more than just quit the application. We need to find the data the user has entered (using the get() method on the entry widget) and then we clear any values that used to be in the result widget. The value the user entered is then cast it to an integer value and doubled before inserting it back into the result widget.
def double_it_callback():
    value = entry.get()
    result.delete(0,tk.END)
    result.insert(0,(int(value) * 2))

button = tk.Button(text="Double it", command=double_it_callback)
button.pack()
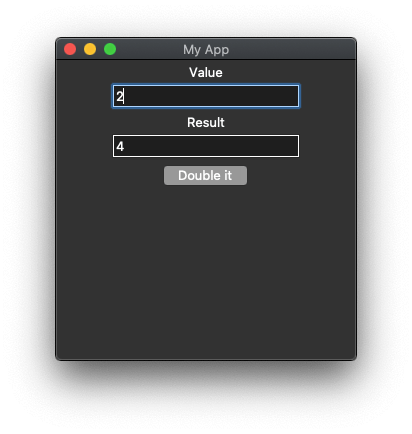
Putting all of this together creates the following application. The user can enter a value into the "Value" entry widget and received the doubled value in the "Result" entry eidget.
Here is the full source code for the "double it" application.
import tkinter as tk

app = tk.Tk()
app.title("My App")
app.geometry("300x300")

label = tk.Label(text="Value")
label.pack()

entry = tk.Entry()
entry.pack()

result_label = tk.Label(text="Result")
result_label.pack()

result = tk.Entry()
result.pack()

def double_it_callback():
    value = entry.get()
    result.delete(0,tk.END)
    result.insert(0,(int(value) * 2))

button = tk.Button(text="Double it", command=double_it_callback)
button.pack()

app.mainloop()
What is missing from this is validation of the user input. You can enter a letter or other non-numeric character and quite easily cause some errors to be printed on the console. I will leave that as an exercise for the reader.
The Tkinter module provides a lot of functionality. Built Tkinter you have access to the widgets Button, Checkbutton, Entry, Frame, Label, LabelFrame, Menubutton, PanedWindow, Radiobutton, Scale, Scrollbar, and Spinbox. It is also possible to extend the functionality to create your own widgets by extending the Widget class.
I have only really scratched the surface of what is possible here. I have left out a lot of the complexity in setting things up in order to create a simple example.
If you want to know more about Python's Tkinter module then have a look at the Tkinter documentation.

dio