Add Effects To Images Using Image Filters With PHP

The imagecreatefromjpeg() function has been part of the PHP library since version 4, allowing programmers to load an image directly from a file. However, the imagefilter() has only been available since version 5 and adds a nice little set of effects to an already useful function.

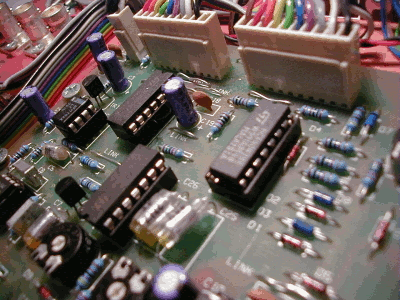
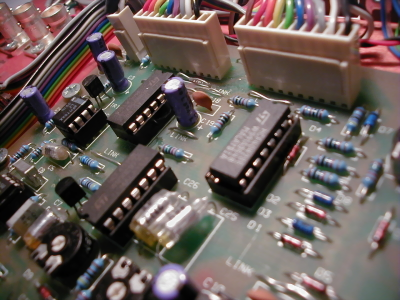
The effects are created using the function in conjunction with a set of constants. Take the following image taken from the free stock images site.

Default Electronics image

I chose this images because it has lots of colour and will show the techniques working well. To create the effects you need to use the following bit of code, in this case I am using the negative filter.

header("content-type: image/png");
$image = imagecreatefromjpeg("tech03250023.jpg");
imagefilter($image, IMG_FILTER_NEGATE);
imagepng($image);
imagedestroy($image);

You can also use imagecreatefromgif() and imagecreatefrompng(), but I have found mixed results with these functions. I think this is because it is possible to create a custom pallets for these formats, which causes some of the filters not to work properly. It isn't possible to get a custom pallet for a JPG image, so they are probably the best image format to use.

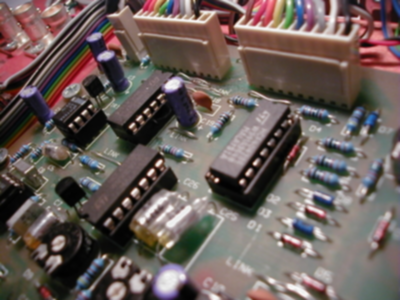
Here is a list of the filters that you can use with this function. In each case the code used to generate the image and the image produced are displayed.

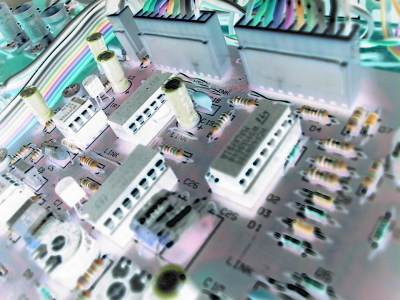
IMG_FILTER_NEGATE : This filter reverses all of the colours in the image, making it look like a photograph negative.

imagefilter($image, IMG_FILTER_NEGATE);
Default Electronics image IMG_FILTER_NEGATE

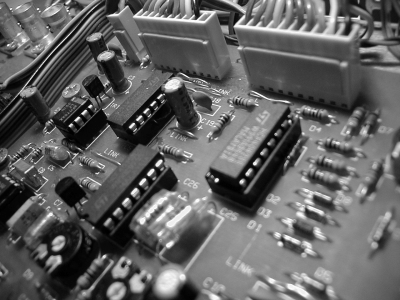
IMG_FILTER_GRAYSCALE : This converts the image to black and white.

imagefilter($image, IMG_FILTER_GRAYSCALE);
Default Electronics image IMG_FILTER_GRAYSCALE

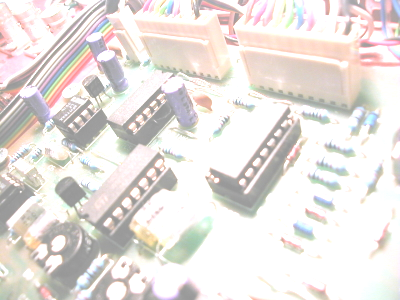
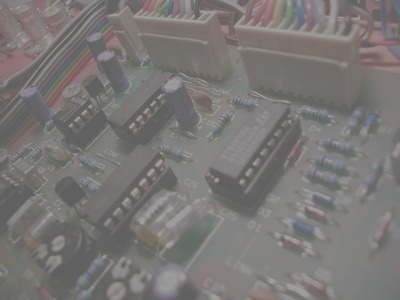
IMG_FILTER_BRIGHTNESS : This changes the brightness of the image. In this instance the imagefilter() function takes an additional 3rd parameter, which is the level of brightness. This number ranges from -255 (black) to 255 (white). Any number higher or lower than this would cause the filter to be ignored.

imagefilter($image, IMG_FILTER_GRAYSCALE, 150);
Default Electronics image IMG_FILTER_BRIGHTNESS

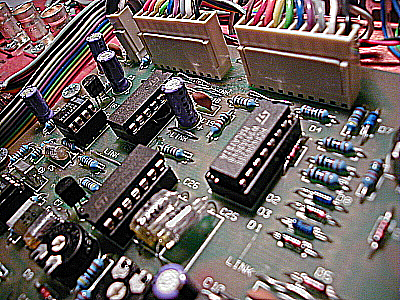
IMG_FILTER_CONTRAST : Changes the contrast of the image. In this case the imagefilter() function takes an additional 3rd parameter, which is the level of contrast, much like the IMG_FILTER_BRIGHTNESS filter.

imagefilter($image, IMG_FILTER_CONTRAST, 150);
Default Electronics image IMG_FILTER_CONTRAST

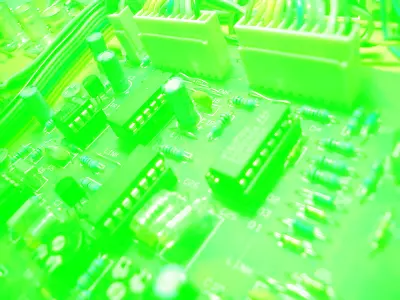
IMG_FILTER_COLORIZE : With this filter you can alter the saturation of a colour within your image. The function takes an additional 3 parameters, which are the level of red, blue and green, in that order. Each level goes from 0 to 255.

imagefilter($image, IMG_FILTER_COLORIZE, 0, 255, 0);
Default Electronics image IMG_FILTER_COLORIZE

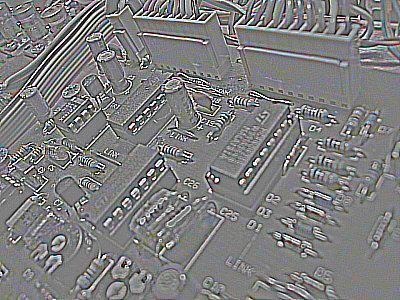
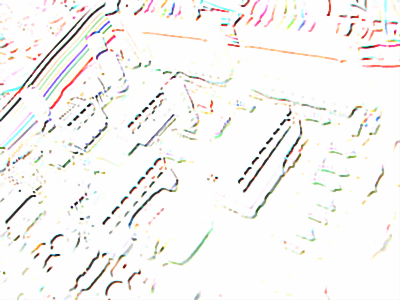
IMG_FILTER_EDGEDETECT : This filter uses edge detection to highlight the edges in the image.

imagefilter($image, IMG_FILTER_EDGEDETECT);
Default Electronics image IMG_FILTER_EDGEDETECT

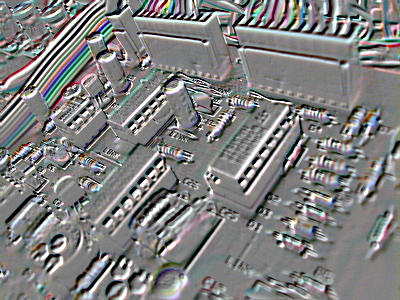
IMG_FILTER_EMBOSS : Adds an emboss to the image.

imagefilter($image, IMG_FILTER_EMBOSS);
Default Electronics image IMG_FILTER_EMBOSS

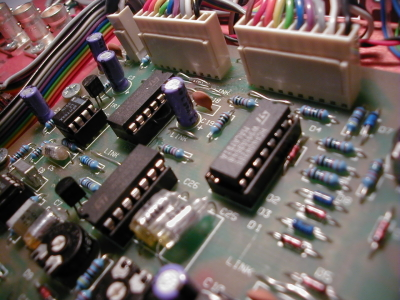
IMG_FILTER_SELECTIVE_BLUR : Blurs the image using a non-gaussian method.

imagefilter($image, IMG_FILTER_SELECTIVE_BLUR);
Default Electronics image IMG_FILTER_SELECTIVE_BLUR

IMG_FILTER_GAUSSIAN_BLUR : This adds a gaussian blur to the image.

imagefilter($image, IMG_FILTER_GAUSSIAN_BLUR);
Default Electronics image IMG_FILTER_GAUSSIAN_BLUR

IMG_FILTER_MEAN_REMOVAL : Uses mean removal to achieve a "sketchy" effect.

imagefilter($image, IMG_FILTER_MEAN_REMOVAL);
Default Electronics image IMG_FILTER_MEAN_REMOVAL

IMG_FILTER_SMOOTH : This runs a smooth filter over the image. The additional parameter in this case is the level of smoothing.

imagefilter($image, IMG_FILTER_SMOOTH, 50);
Default Electronics image IMG_FILTER_SMOOTH

CombinationsIt is also possible to combine the effects together and layer filters on top of each other. The image below is created through a combination of different filters.

imagefilter($im, IMG_FILTER_BRIGHTNESS, 150);
imagefilter($im, IMG_FILTER_EMBOSS);
imagefilter($im, IMG_FILTER_BRIGHTNESS, 150);
imagefilter($im, IMG_FILTER_GAUSSIAN_BLUR);
imagefilter($im, IMG_FILTER_SELECTIVE_BLUR);
imagefilter($im, IMG_FILTER_MEAN_REMOVAL);
imagefilter($im, IMG_FILTER_SMOOTH, 50);
Default Electronics image Combination

You might not see much difference with the blur filters, but I think it matters what image is chosen for it. The image selected for this test is slightly blurred anyway, so adding blur to this seems not to do very much.

Comments

Nice tutorial. Not quite Photoshop, but nice programmable effects.
Permalink
Thank you for your work! The article is very handy. Good thing there are examples of pictures
Permalink

Add new comment

The content of this field is kept private and will not be shown publicly.
CAPTCHA
2 + 10 =
Solve this simple math problem and enter the result. E.g. for 1+3, enter 4.
This question is for testing whether or not you are a human visitor and to prevent automated spam submissions.